How to Add a File Upload Form to Website
This video features an old UI. Updated version coming before long!
If your site is on the Business, Ecommerce Plus, or Ecommerce Advanced hosting tier, y'all tin add a file upload button to your forms. This allows visitors to adhere files to their grade submissions, which yous can automatically send to the site's data controller. And of course, y'all can style the upload push and all its states to customize every step of the file upload experience.
Collecting files direct through a class on your site is great for acquiring:
- Documents such equally résumés, portfolios, applications through chore application forms
- Images and videos such as screenshots and screen-captures through customer support forms
- Compressed files that, for example, contain images of a participant in a contest through a submission form
In this lesson
- Adding file upload to your form
- Customizing file upload settings
- Customizing file upload states
- Managing file submissions
Calculation file upload to your form
Make certain you've added a form onto your page. So, drag and drop a file upload button from the add elements panel (A) → forms section correct inside your form.

Customizing file upload settings
As soon as you add the file upload input onto the canvas, you'll see the "Upload file" push likewise as a text note. The settings window volition be open likewise indicating that this is the default state.
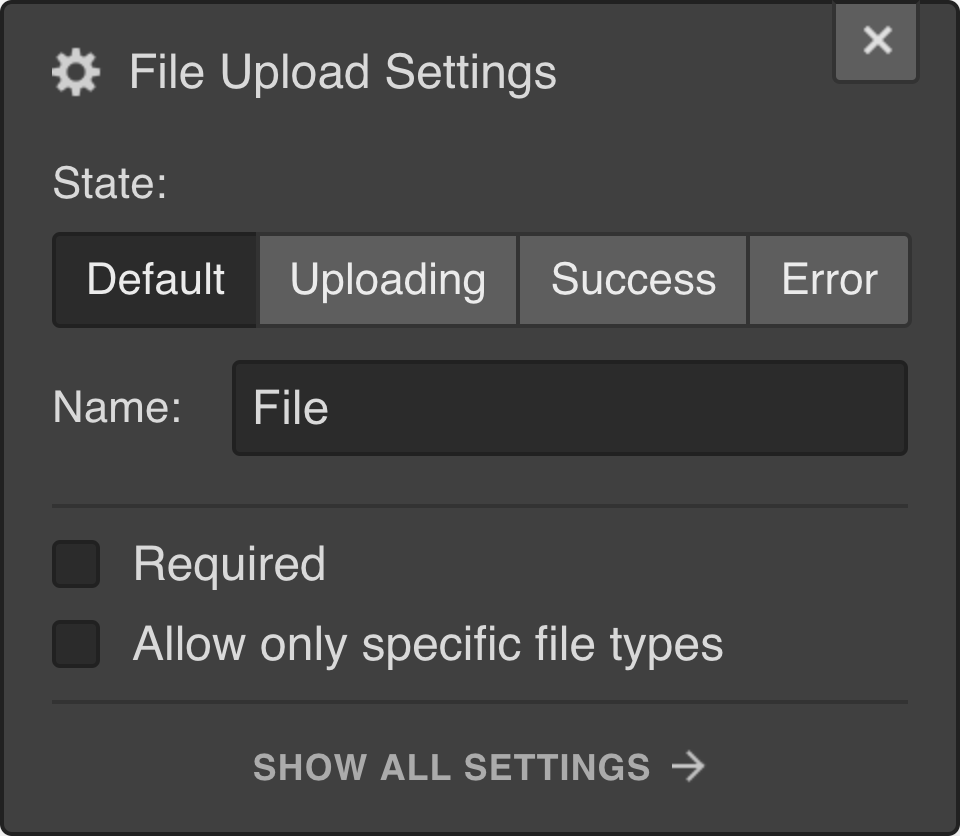
Hither, you can toggle between the 4 states of the file upload procedure. We'll cover how to customize and style these below.
Yous tin likewise name the file upload button. This is helpful specially when you want to add more than 1 file upload element in a form. The name volition help y'all identify the submitted files in your submissions data.
Of course, you tin can cull to make the file upload required just like other grade input elements.
You tin can also cull to allow only specific file types. This lets you lot restrict the type of files that people tin can submit through the button for that specific form.
Assuasive only specific file types
By default, a user can submit any supported file type. Withal, you can restrict file types and cull whether this file upload button volition permit users to submit a document file, an image file, or even custom file types yous specify in the custom text area input.

Supported file types for file upload
Each file upload push accepts a unmarried file of up to 10MB in size of the post-obit file formats:
- Documents — .ai, .doctor, .docx, .indd, .key, .numbers, .pps, .ppt, .pptx, .psd, .ods, .odt, .pages, .pdf, .txt, .xls, .xlsx, odt, ods, odp
- Images — .bmp, .dng, .eps, .gif, .jpg, .jpeg, .png, .ps, .raw, .svg, .tga, .tif, .tiff
- Custom — Audio files (.m4a, .mid, .mp3, .mpa, .ogg, .wav, .wma), video files (.3gp, .avi, .flv, .m4v, .mov, .mp4, .mpg, .wmv), nada
Unsupported files
For security reasons, the following file types are not allowed: .apk, .app, .bat, .cgi, .com, .exe, .ps1, .gadget, .jar, .sh, .wsf, .tar, .tar.gz
Expert to know
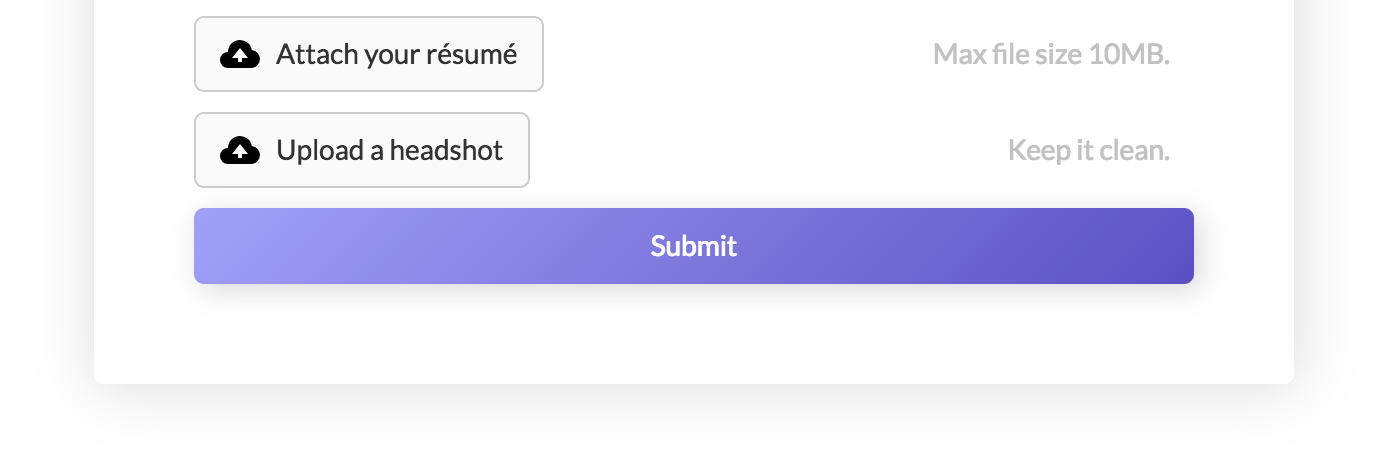
You can add up to 20 file upload buttons in each class and configure each one differently. For example, you can have one button that only allows uploading PDFs for a "Adhere your résumé" button, some other that accepts only images for a "Upload a headshot" button.
Customizing file upload states
Yous have complete control over the look and experience of the file upload experience in all its unlike states:
- Default — what the button looks like normally
- Uploading — how the button looks during the uploading process
- Success — how the button looks subsequently the file's been uploaded
- Error — the bulletin that will display if something goes incorrect

Default state
The default state consists of:
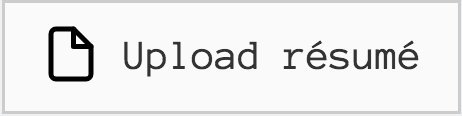
- the default upload push button which contains an icon and a text cake
- a message text block which shows the default bulletin "Max file size 10MB"

Y'all can change the text of the message or even delete it entirely. You can as well mode it just like you would style whatsoever text cake.
Customizing and styling the push button
The push button is the bodily upload button that yous can customize by editing the text, customizing the styling, and replacing the icon.
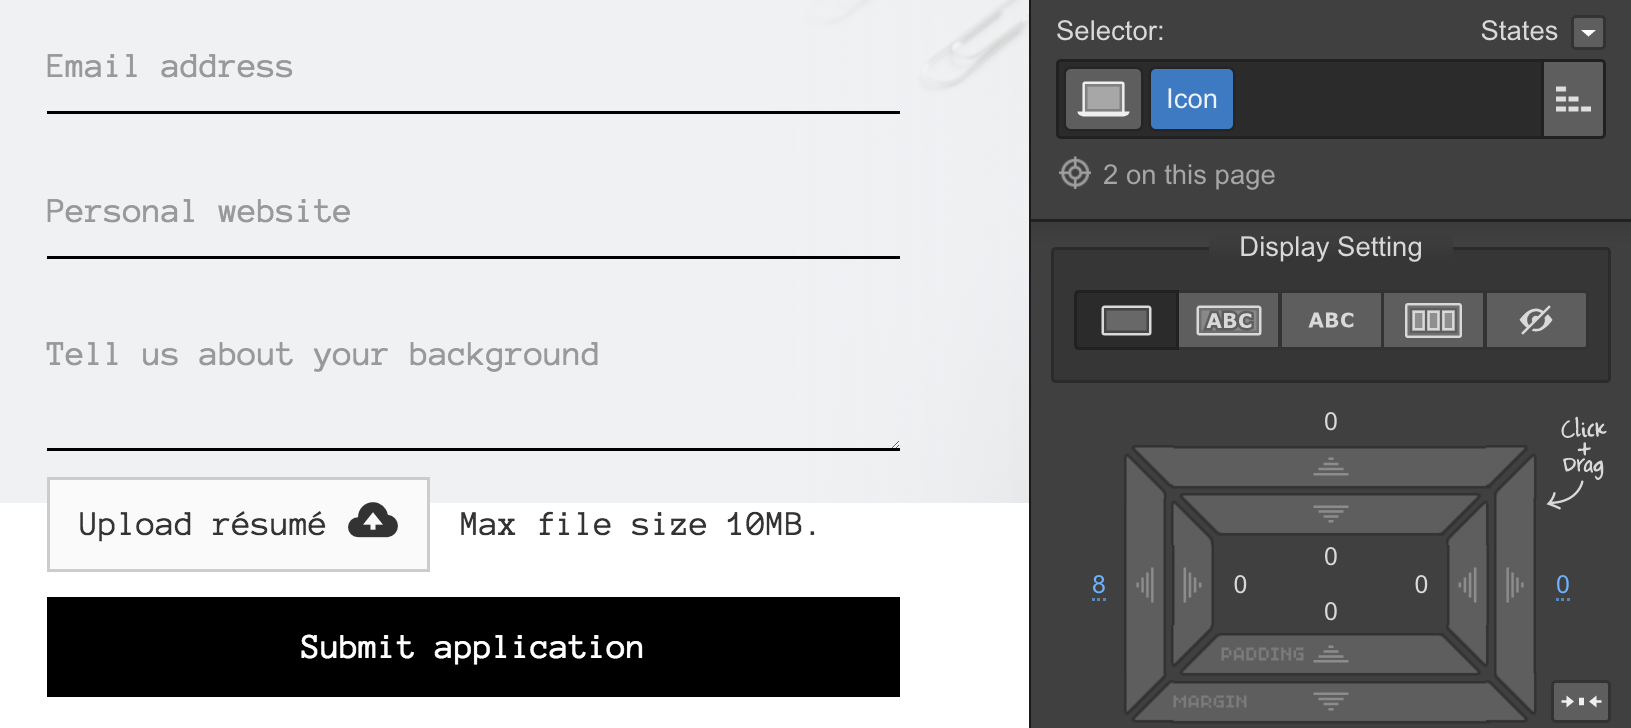
To edit the text, just double-click the push and supercede the text. Yous can style the text separately or by applying the styling on the entire push button.
To style the button, add together a class and apply whatsoever styling you desire in the style panel. You can alter the groundwork colour, the edge, the font — the list goes on and on. By changing the font color of the button you also change the colour of the default icon.

If you practise non wish to do that, or if yous want to mode the icon and the text separately, just add a split grade to each of these elements and employ dissimilar font colors on each one.

To replace the button icon, just delete the default icon, and so drag and driblet the icon y'all desire to use from your assets console.
You can besides reposition the default icon past dragging it inside the button.
Uploading state
Y'all tin can customize and mode the push of the uploading state the aforementioned style y'all customize the push button in the default state.
Success land
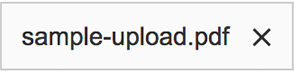
The success state of the file upload contains:
- A text block — this displays the proper name of the uploaded file and cannot exist edited. Yet, you tin can alter its styling.
- An icon nested in a link block — this allows a user to remove the uploaded file from their form. You tin style this icon and its hover country.
Yous tin fashion the whole push button in the success state.
Design tips and suggestions
Y'all can elevate an epitome into the success state push button. This image may be an icon indicating that the upload was successful. Or, it can exist a placeholder file thumbnail icon.
![]()
You tin can also add a text block in the success state wrapper. This tin say "File uploaded!" or "Success!"

Yous tin too supersede the delete icon (10) with another icon image or a text block — "delete file" for example. Just make certain to fix the width value of the link block to "machine".

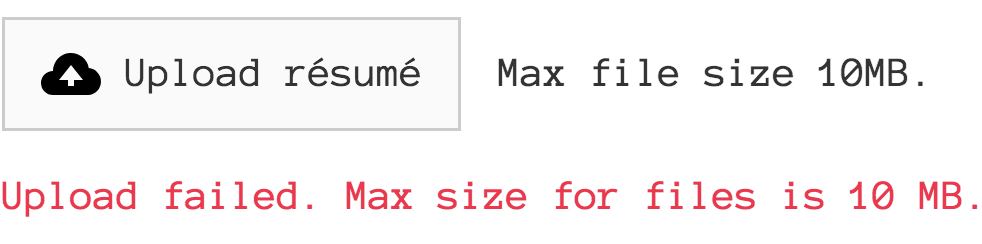
The fault state
The default error message that appears in the Designer reads: "Upload failed. Max size for files is 10MB." Withal, the error state might also prove for reasons other than when the file size is larger than 10MB. For example, there might be a network fault or the uploaded file may be corrupted or has an invalid file extension. A different message will show up for each error type. Learn how you tin customize these messages below.
Circumspection
The button that appears in the error state correct to a higher place the fault message is the same button from the default country. So, editing the button hither will supercede the original button in the default state.
Customizing the error messages
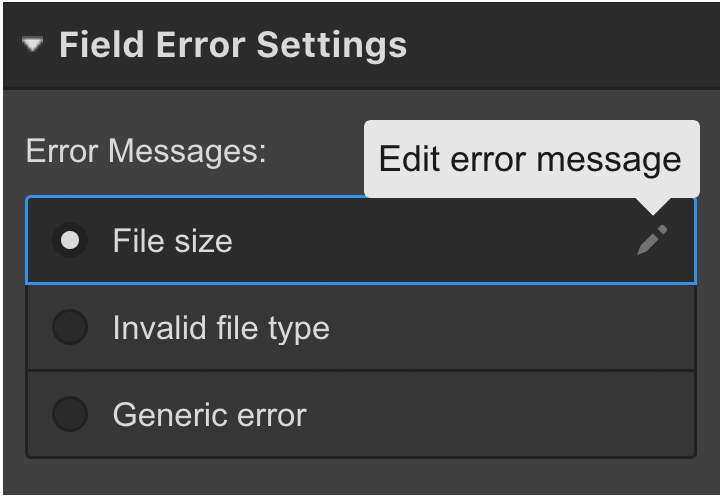
Y'all can replace the default text for all iii fault types. You can also modify the text colour or utilise whatsoever other styling by selecting the text block that is nested inside the error state wrapper.
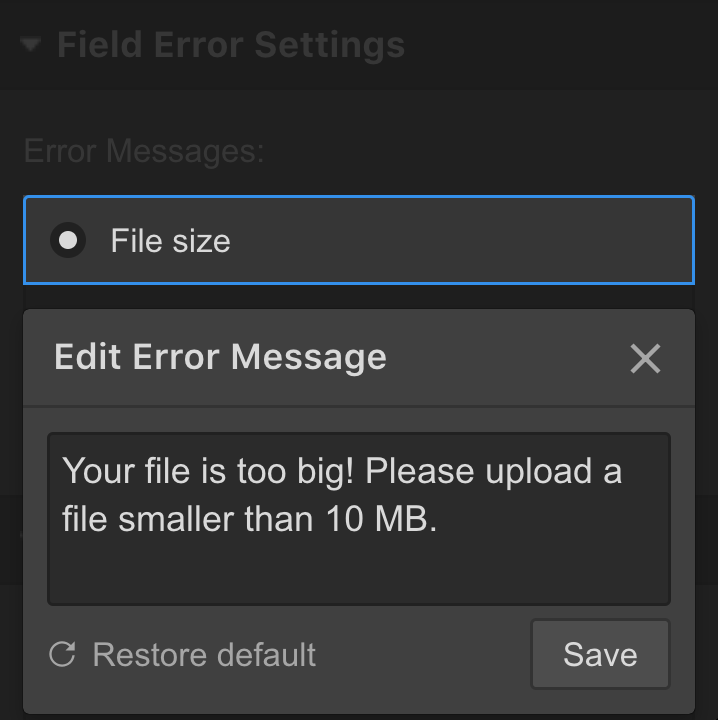
To customize the mistake letters, select the mistake text block on the canvas, and then yous'll exist able to access the field mistake settings in the settings panel. To edit each fault message, click on the pencil icon that appears when y'all hover over the error blazon name.
You can e'er restore the default message for each mistake type. Only edit the error bulletin and click "restore default".
Managing file submissions
When a user uploads and submits a file through i of your forms, the uploaded file will exist included as a URL in your form submission notification that is emailed to the email address(es) yous have specified in your form notification settings in your projection settings.
If you're the data controller of a projection, yous tin likewise access and view submitted files of each project in project settings → forms → class submission information.
Demand to know
Form file upload storage is costless up to 10GB, and $0.50/month per GB later on that. You can clear storage by deleting submissions.
Important privacy & security note
By default, only users logged into Webflow can admission files uploaded through a form. Meaning, a user that is non logged into Webflow won't be able to access the files fifty-fifty when they take the link to the files. You can allow anyone with the link to access the files by turning this option off in project settings → forms → restrict uploaded file access.
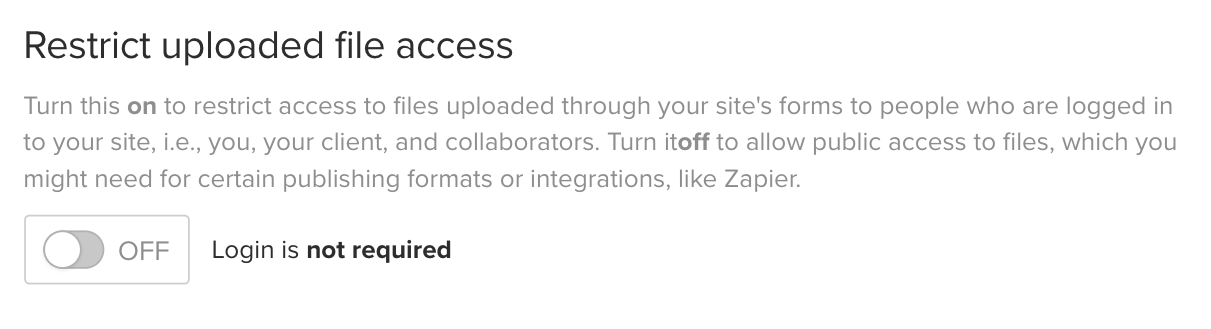
You'll also need to turn this pick off if yous want to send your form file submissions to a unlike deject storage using Zapier.
Read adjacent
Learn how to manage file submissions.
Source: https://university.webflow.com/lesson/form-file-upload
0 Response to "How to Add a File Upload Form to Website"
Enviar um comentário